As an organiser, you want to spend as much time as possible on your event's content and the organisational side. In addition, you want to be able to create a nice event website easily. It is even possible to copy the design of another event within your account. Do you want to have a unique layout? We are happy to help you with this!
How?
Go in your dashboard to styling, on this page you can configure the styling for your event page. You can choose from our templates, colour palettes, and backgrounds when designing your website. This means that you can create a nice website with just a few clicks. It is always possible to adjust details as you like.
Step 1. Choose a layout
Step 2. Choose a colour palette
Step 3. Upload your banner
Step 4. Choose a background
Step 1: Choose a Layout
With the layout you decide where the logo, the banner or the menu will appear.
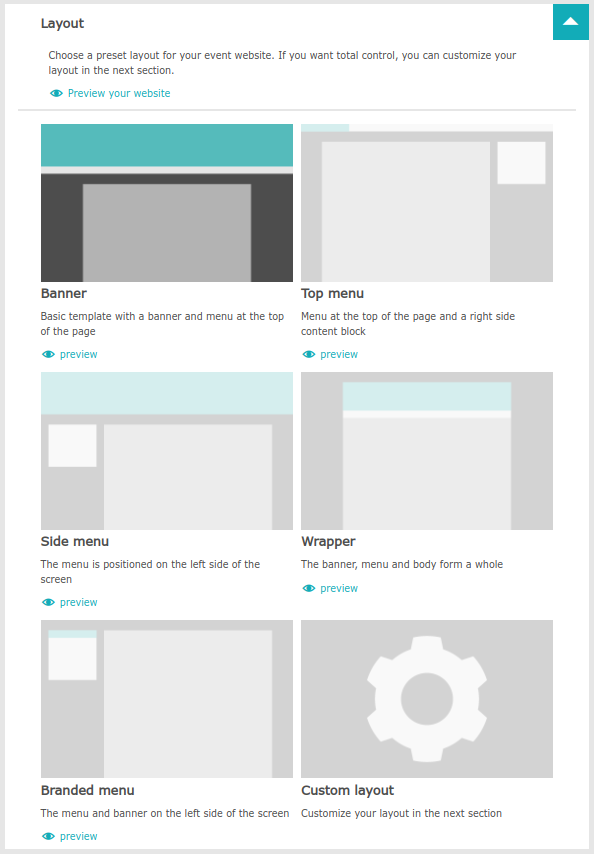
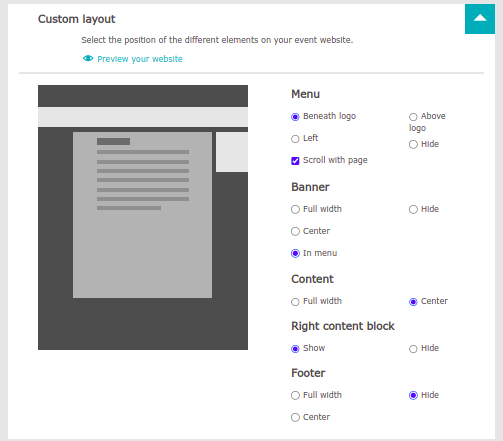
Do you want to tweak the layout slightly or decide to do every part of the styling yourself?
Then you can choose Custom Layout.
Here you can choose the position of the various components yourself.
Step 2: Choose a colour palette
Choosing nice colours can be a difficult and time-consuming task, which is why we have created some default colour palettes for you to choose from.
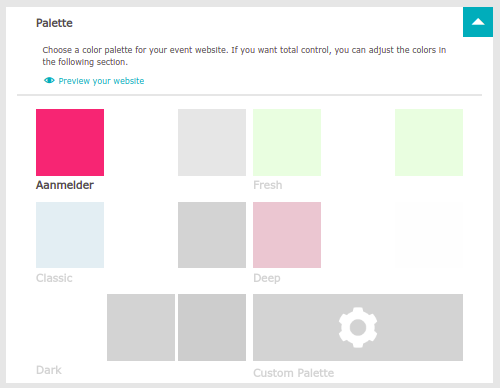
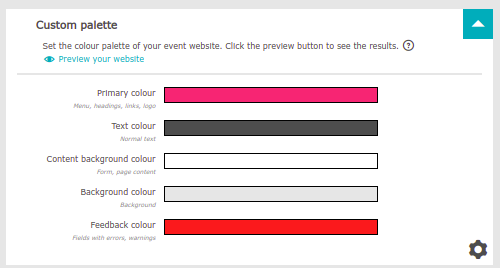
Do you want to specific colours? Then click on Custom Colour Palette.
Here you can also work with RGB colour codes.
Step 3: Upload your banner
Place a banner with your event logo or image on your website. We recommend a good quality banner with a width of 1920 pixels and a maximum height of 400 pixels.
Example banner:

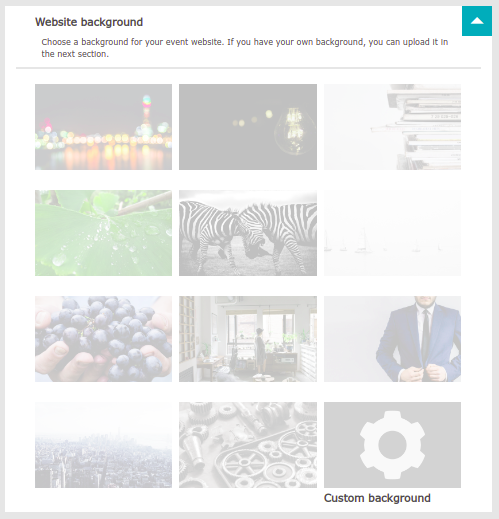
Step 4: Choose a background
With a background image you can make your website even more appealing.
Select one at Website background or upload your own image in the next section.
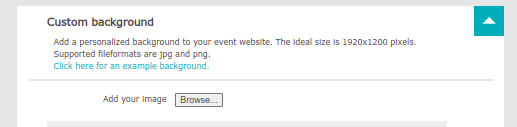
In custom background you can upload an image for a personalized background. When using your own image, please make sure that it complies with our recommended dimensions.
 Tip
Tip
If you want to make the background of your content part transparent, so that you can see the background, you can use this code to: Dashboard - Design - Add your own CSS:
element.style {
}
.row .content {
background-color: rgba(240, 255, 255, 0.5);
}
Tip
You can customise the design even more by using 'add your own CSS'. We advise you only to do this if you already know how to use CSS.