1. Creating a Survey
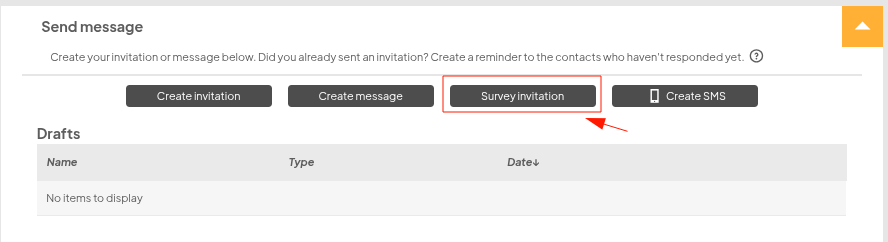
To create a survey, go to your dashboard, click on ‘Communicate’, and then select ‘Surveys’. Here, you can either create a new survey (see the image below) or copy one from a previously created event.

Setting up the survey works the same way as creating a registration form. Once your survey is ready to be sent, you can invite your guests via your Message center (Dashboard → Communicate → Message center). Choose to create a survey invitation, select the correct survey from the list when prompted, then compose and send your message as you normally would.
2. Viewing survey results
By clicking on Survey results from your dashboard, you will see a list of all surveys belonging to that event.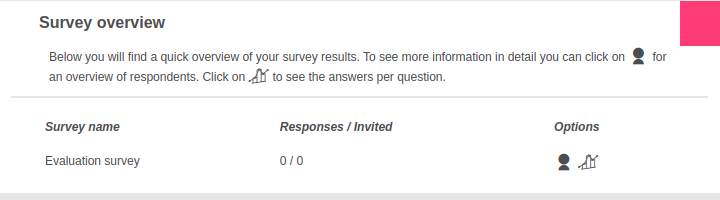
There are two icons next to each survey: a 'people icon' and a 'graph'. Clicking on these icons will take you to the following overviews: Respondent list 
This will take you to the list of respondents. At the bottom of the list, you will find a button to create an export of the list. This contains the responses per respondent for all questions, including the open survey questions.
This list is very similar to the registration page which contains the list of participants in the same format.
Statistics per survey question 
This will take you to the survey statistics page. These are the statistics per question in the survey. Here you will mainly find the total number of answers. This provides an overview of how many people have made a certain choice.
E.g. "How many people gave a 5-star rating to the first workshop?".
 Tip
Tip
In the survey statistics, you will not find answers to open questions.