In the website pages part (dashboard > website pages) you can create different web pages for your website.
The colour of the eye-icon shows whether the page is visible on your website:
Blue means visible, and black means hidden.
With 1 click on the eye-icon, you can make the web page (un)visible to your visitors.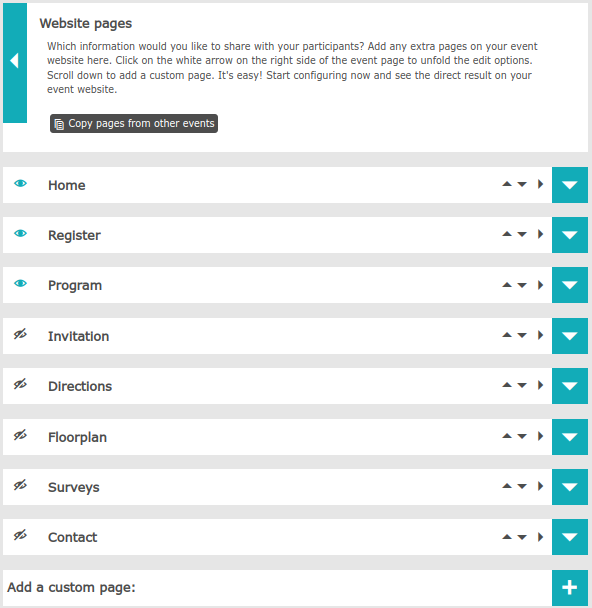
You can copy pages from other events with the button copy pages from other events.
Several pages are ready for you to use for your website by default.
These are Home, Register, Program, Invitation, directions, floorplan, Surveys and Contact. These pages all have a fixed format. If you want to have your own design, you can always add a blank page and edit the page as you wish.
The pages ready to use by default:
Registration:
This page will show your registration form.
Program:
Here you can create the program of your event per day, with starting and ending times.
Invitation:
If you have sent an invitation to your participants, you can also display this invitation on your website.
direction:
Here you can share information about the location of your event, with the possibility of adding Google Maps.
floorplan:
For large events, it is useful to share a map with your participants.
Surveys:
In case you want to send out a survey to your participants after your event, you can choose to have the survey automatically shown on this page.
Contact:
Contact details for your participants can be displayed on this page.
Click on the white arrow(s) on the right to edit the pages. The black arrows allow you to choose the order of the pages. The black arrow to the right moves the page to a submenu.
Always click Preview website on the top red/pink bar, to check how your pages will appear on your website.