It is possible to add a calendar option in your confirmation message so that participants can add the date and time of the event to their Google or Outlook calendar with a description. You can enable this in your email settings.
In your dashboard, go to e-mail settings > confirmation message. Click on the cogwheel and click 'add calendar link'.
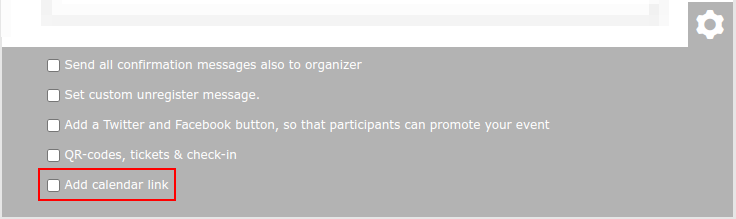
The following options appear. What can you specify for your calendar link?
* A location
You can see in the calendar where the event will take place.
* Description
This description is linked to the calendar. Here you can enter information about your event.
In the preview of your confirmation message these links will appear:
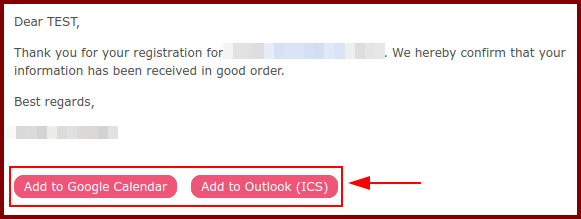
You will see that when you click on the links, the system will create an appointment in the calendar. The given data will be added to the calendar item.
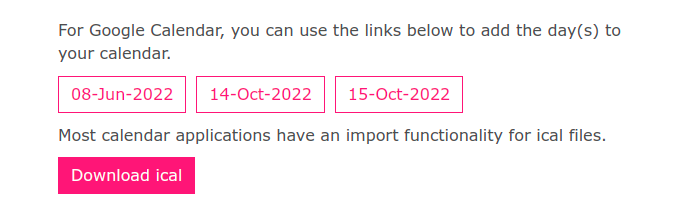
In case of multiple dates, you can create an appointment for each event date.
![]() Tip
Tip
You can also add the calender link in your invitation or message.
Click here to see how this works!