Creating messages is done in four different steps as described below:
Step 1
- Select Messages in your Dashboard.
- Click on Create invitation or Create message. You can find the difference between an invitation and a message here in this article.
Step 2
A pop-up window appears: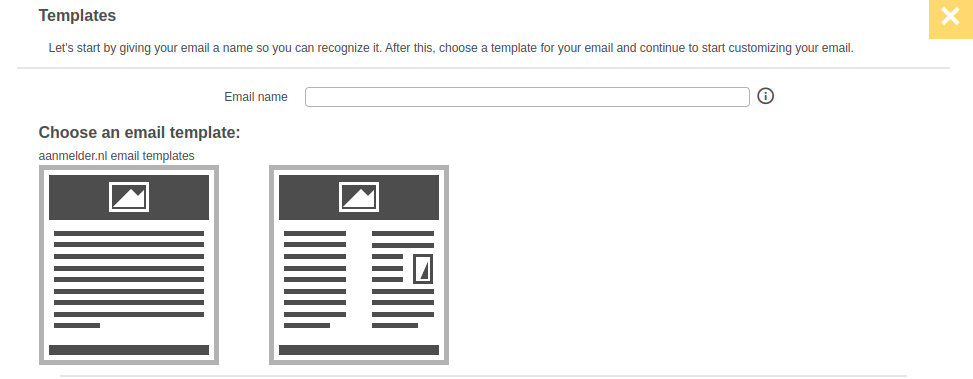
- Choose/write an E-mail name.
This is a working name for the message to help you organise your messages. This is not the subject of the message that the recipient sees, you will enter this later. - Choose an E-mail template by clicking on it. You can choose between a one-column message and a two-column message.
If you already have a pre-existing message that you want to use, you can copy it.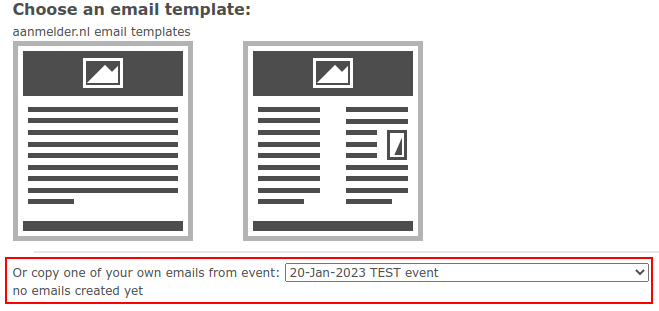
Step 3
You will proceed to the next page. There is a standard message, you can edit this. On the right-hand side of the screen, you will see e-mail sections. These are blocks (parts) that you can add to your message by dragging them to the right place in your e-mail. These are: Text block
Adds a text box to your message.
 Image
Image
Adds an image to your message.
 Image left
Adds a text box with an image to the left of it to your message.
 Image right
Adds a text box with an image to the right of it to your message.
 Button
Adds an activated button to your post which links to, for example, the subscribe form or another page.
![]() Calender link
Calender link
Add a calendar link to your message so recipients can save the date to their Google Calendar or Outlook. Enter the details of the calendar link in the confirmation message.
To make an adjustment to the image, text or button, hover your cursor over the box. A pen and a cross
  will appear. To make an adjustment, click on the pen. To delete the entire block, click on the cross.
Step 4
To see what it looks like for the recipient, click on the yellow Send Settings button at the bottom right of the screen. From this page, you can send the message. For more information, see this article.
 Tip
Tip
The ideal width for an image in your message is 600 pixels.
Tip
If you enter an 'image left' or an 'image right' option, you can make further adjustments such as the alignment and space around the image. To do this, click on the image; you will see editing options on the right-hand side of the screen.
 Tip
Tip
Do you want to add attachments? This is possible up to 20MB, but this does slow down the sending process, which is why we recommend not adding more than 5 MB as attachments. What you can do if it is larger is create a downloadable link with the file added in the text. You do this by selecting a piece of text and clicking the next icon in the edit bar.
![]()