Once you have drafted a message to your liking, you can send it. Here's how to do it:
- From your Dashboard, go to Message center.
- Open the message by clicking on the working name.
- Click on Send settings (bottom of the message in yellow).
- When you send a message, select the correct recipients next to: To. You can choose from:
Complete address book
These are all the people in your address book.
registered persons
These are all participants who are registered.
deregistered persons
These are all the participants who have been deregistered.
attending/checked-in persons
These are all the participants who have checked in at the event.
no show/non-checked-in persons
These are all the participants who are registered, have paid and are not checked in.
participants in certain participant groups
This is a group based on your registration form, which you create yourself. How to do this, can be found here.As soon as you select a group, the number of recipients who belong to this group will appear below it. Click on the yellow link to download the participants of this group in an Excel overview.
- Previously sent. This shows how many people the message has already been sent to. By clicking on the yellow link, you can download an Excel overview of this group. A message is never sent more than once to the same person.
- Sender. Here you find the sender as is set in the e-mail settings.
- Subject. Here you enter the subject of the e-mail that the recipient sees in their mail.
- Attachments. Here you can upload a file. It is also possible to add the location and/or the program. Provided that these have been created at Website pages.
- First send a test e-mail to yourself to check the message. For this you always have to select a group at To and create a Subject.
- Click on 'Send invitation' or 'Send message' to send the message. You can also schedule a message by selecting 'Send later'. You then choose a date and time. This mail is sent to everyone who is in the selected categories at the moment of sending.
 Tip
Tip
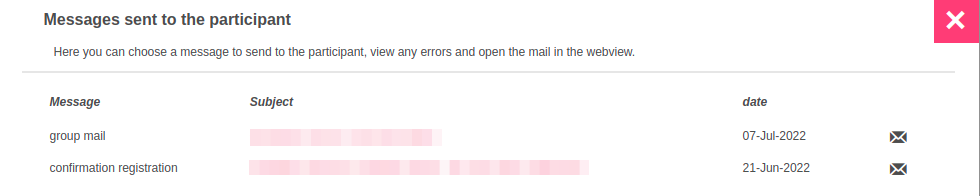
You can see an overview of all the messages you have sent and resend these messages at individual level.
Go to Dashboard > Manage Registrations > Registrations. Under Options, click on the red indicated icon.
You will get to see an overview of the sent messages, their subjects and the date they were sent. To resend the message, click on the envelope.
Tip
You cannot choose recipients for invitations; the message is automatically sent to the contacts in your address book.
Tip
Once you have sent a message, aanmelder.nl keeps track of whether any contacts or participants are eligible for this message. If this is the case, you will see the number of contacts or participants in a yellow link. You can click on this link to send the message to this group as well. A message is never sent to the same person more than once. You can do this yourself, see the first tip.
 Tip
Tip
Do you want to automatically send messages to a participant group? You can!
You can find out how this works here.