You have two options if you want to edit and customize your confirmation message. With these options you can fully customize the confirmation message, unsubscribe message and change message, similar to regular messages in the message center. You can find the old way of formatting here.
In this article you can check how you can edit your confirmation message in the new style.
Go to Dashboard > Email Settings > Confirmation Message.
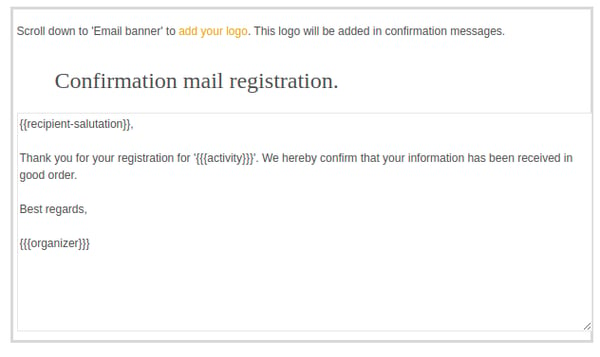
This is how you normally see and edit the confirmation message:
Click on the gear, you will see this option:

Click this button and you will see these options:
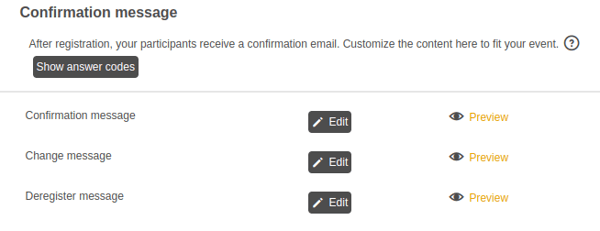
You see 2 options per message: 'edit' and 'preview'.
Choose the message you want to change, for example the confirmation message:
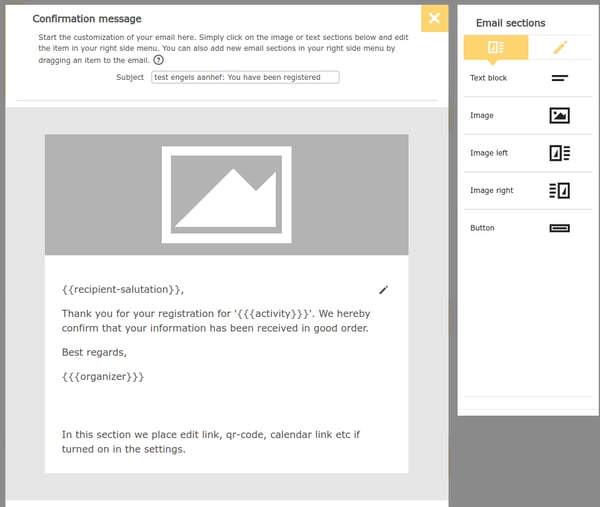
This is the screen you normally use to create regular mailings:
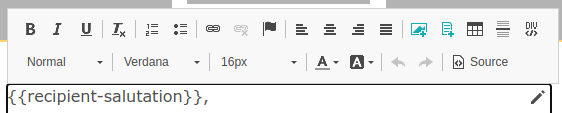
on the top you see the subject, on the right you see the same e-mail sections with text/images. You will also see the familiar toolbar:
There is 1 difference: you will not see a button at the bottom right with 'send settings'. This message is sent automatically after an action by a participant, i.e. after a registration, a change or a cancellation.
Please note:
As always, you can add extra items in your confirmation message, such as the QR code or the calendar link. These items appear at the bottom of the confirmation message:

 Tip:
Tip:
You can also edit the change and unsubscribe message by using this feature.