In the website builder you can add a photo gallery with an impression of the previous edition of your event or you want to share all photos after your event.
How does the photo gallery work?
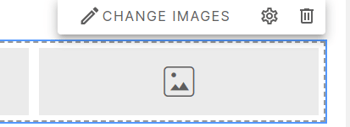
Create a new section and add the gallery widget:

You will see a gallery of 4 images, but you can add more images. You can decide how many images are placed next to each other.
![]()
Move over the gray placeholders and click on 'change images' or click on the widget again:
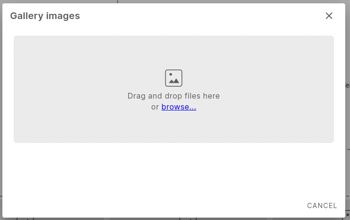
You can now upload your images, this can be done with multiple images at the same time.
Please note:
Make sure that all images are properly sized and not too large. Images that are too large (and heavy) can be detrimental to the loading speed of your website.
- Large images or full-screen background images should not exceed 500 KB.
- For an image that covers the entire screen, you can use 1700 pixels wide.
- Most images for your website are 300 KB or less.
- If you have the option, always use the 'Save for Web' option

You can change the order of the images by dragging the images. You can add additional images using the ‘+’ sign. When you hover your mouse over an image, you can delete the image.

You can also add alternative text per image (Alt text). Adding these alt text will provide better image context/descriptions to search engine crawlers, helping them to index and rank an image properly in image search.
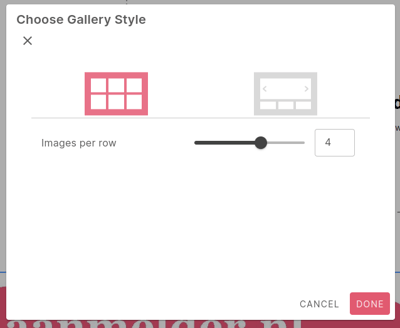
You can also choose how the images are displayed on your website.
Click on the gear icon to view the Gallery styles:

There are 2 options:
1. all images on 1 row as smaller images, where you can choose how many columns the images are displayed in (minimum 1, maximum 6).
2. all images in a gallery form with 1 large header image and columns of 3 small images next to each other.
The visitor can click on the thumbnail to see the larger version and can browse through all images using the arrows on the left and right.
