
Add an additional language
When creating an event, you first choose a primary language. You can then add one or two additional languages. Currently, Dutch, English, and German are supported.
- Go to Event Website > General settings.
- Add one or two additional languages alongside the primary language.
After adding an additional language, translations become available for:
- the registration form;
- the event website;
- the confirmation email;
- the registration update email;
- the cancellation email;
- the survey;
- messages in the Message Centre.
Tip: Aanmelder.nl does not automatically translate these items. You can either add the translations yourself or use the translation suggestions as a starting point.

Translate questions in the registration form
- Go to Event Website > Registration form.
- Open a question.
- Click the translation icon in the bottom-right corner of the question.
- Enter the translations for the additional languages.
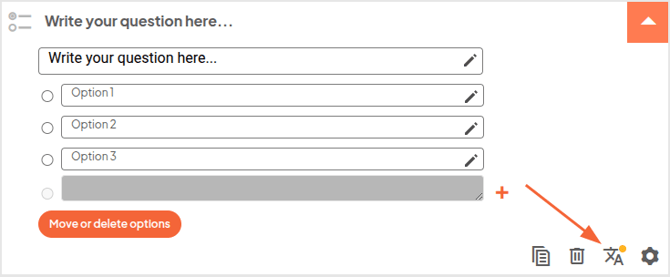
Tip: If you see a yellow dot, one or more translations are still missing.
Translate email messages
You can configure the confirmation email, registration update email, and cancellation email separately for each language.
- Go to Event Website > Email settings.
- Open the email you want to translate.
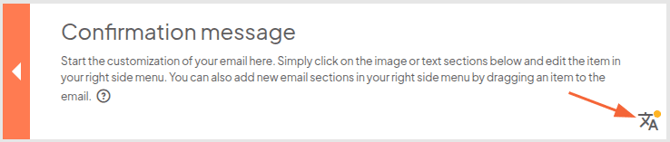
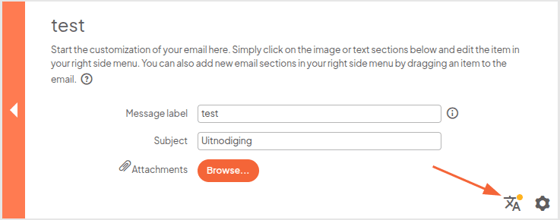
- Click the translation icon next to the email settings.
- Add the translations.
Translate messages in the Message Centre
Messages sent from the Message Centre can also be created in multiple languages.
- Create a new message or open an existing one.
- Click the translation icon at the top of the message to translate the subject.
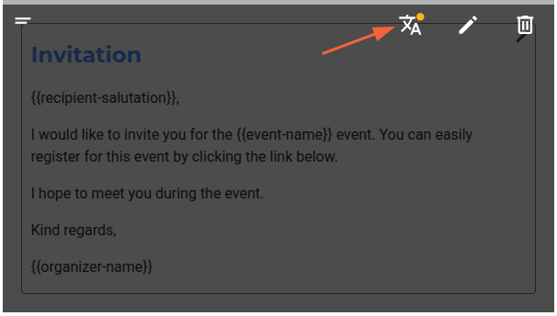
- Hover over a text block or button.
- Click the translation icon that appears and add the translation.
Tip: Reusing an existing message? Make sure you update both the original text and all translations.
Assign a language to a contact
When importing contacts via Excel, you can assign a preferred language to each contact.
- Enter the language code in column H.
- Use one of the following language codes:
- NL – Dutch
- EN – English
- DE – German
- Import the file.
The contact's language preference will automatically be used for multilingual communication.
Click here for more information about importing contacts.
Translate website pages
You can translate your event website in two ways:
- via the Language Centre, where you can manage all translations;
- directly in the Website Builder by translating individual elements.
For quick changes, the Website Builder is the fastest option. If you want to check whether all translations have been completed, use the Language Centre.
This is an example of the Translation icon on the right-hand side in the Website toolbar:

In other words, in the Language Center you have a total overview of all the required translations. On the other hand, you can also translate a specific element of the Website in the Website itself.
Check all translations
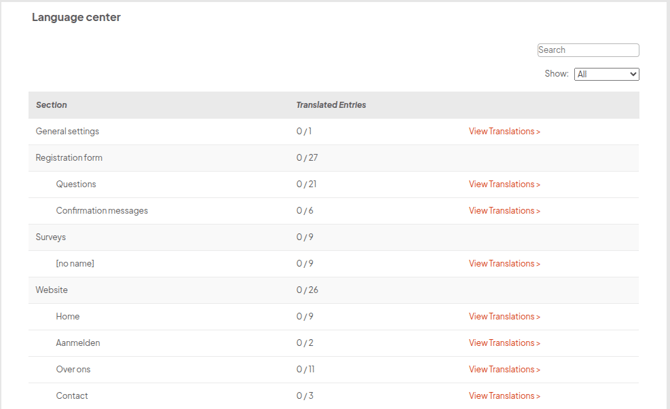
The Language Centre gives you an overview of which items have already been translated and which translations are still missing.
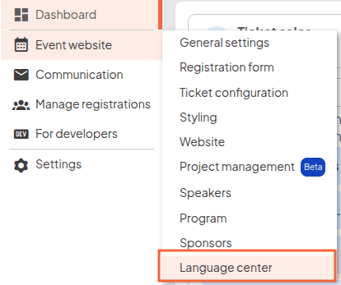
- Go to Dashboard > Language Centre.
- Check which items still require attention.
- Open an item directly from the overview to add or update its translation.
Tip:
Use the Translation Centre to monitor the progress of all translations. If you only need to update a single item, it is often quicker to edit it directly from the relevant page.
You don't have to do all of the translating yourself. When you start working on the translations you will see a translator icon:
This button will give you translation suggestions that you can use. All of these suggestions are fully editable. Beware: these are generated translations, so always check them thoroughly.
