Step 1: Activate the financial administration add-on
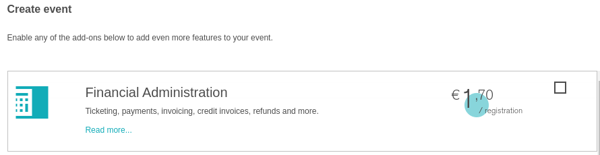
If you have a paid event where participants need to pay for their participation, you will first have to activate the financial administration add-on in your event. You can activate this add-on when you create a new event:
You can also activate the financial administration add-on in the settings of your event:![]()
You will see that the 'Payments' button on your dashboard is active. You choose the payment system here so your participants can pay and you can also create all possible tickets for your event here.
Inactive (participants do not have to pay):

Active (participants do not have to pay:
Click on 'Payment' to continue.
Step 2: How to activate a payment system
Based on a number of questions, such as your preference for the currency, we will select the most suitable payment system for you.
These are the steps you need to go through as a user:
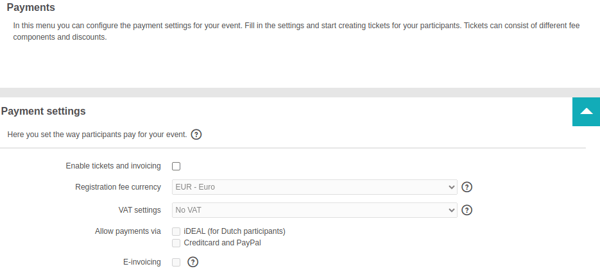
1. Activate the checkbox 'Enable tickets and invoicing'
2. Choose your desired currency (the default is Euro)
3. Indicate whether VAT applies to your tickets:

The options are:
No VAT - Price components excl. VAT - Price components incl. VAT (click here to read more about VAT setttings)
You will see instantly which payment system is activated for your event, in this example we have selected Delft Congress Support:![]()
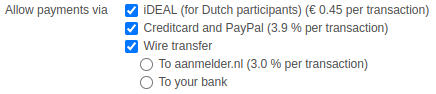
Choose the payment method(s) you want for your participants.
In this example, these 3 methods are possible:
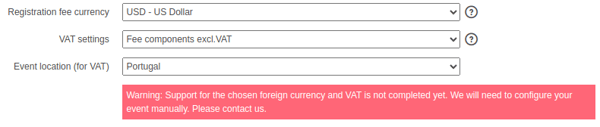
Using another currency for your event
If you use a currency other than Euro and you charge VAT on your tickets, you will also be asked for the location of your event. Based on your choice, the correct payment link will be activated: