
With a test registration, you go through the complete registration flow as if you were a participant yourself. This allows you to check whether your registration form, confirmation emails and tickets are working correctly before your event goes live.
It is important that your event has not been published yet, because once the event is published, you can no longer create test registrations. Test registrations are free of charge and do not affect your credit bundle.
Do you have a paid event? Read here how you can create a test payment.
Please note: make sure your event has not been published yet. You can check this via Event website > General settings.
Create a test registration
- In your event dashboard, go to Event website > Registration form.
- Click Preview in the top right corner.
- Fill in the registration form as if you were a participant.
- Click Submit / Register.
- You will receive a confirmation email at the email address you entered.This email contains the same confirmations and possible tickets that real participants will also receive.
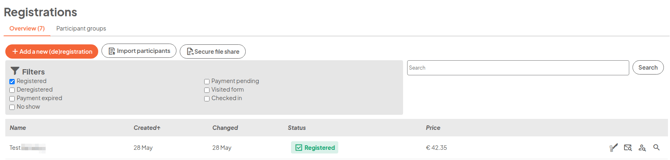
- The test registration will also appear in your dashboard under Registrations.This is where you will later see your actual registrations as well.
When you publish the event, the system will automatically ask whether you want to delete the test registrations.